 |
|
This is the Timp Loop
as described on the LocalHikes site. It's actually a lollipop, not a loop, since a good part of the hike (from the trail head of the 1777 Trail to its intersection
with the Timp-Torne Trail) is traversed twice. The hike description also includes a visit to the Herbert Mine, but the significant leaf drop made it impossible for us to
find the unmarked trail to the mine. Though we have hiked in Harriman dozens of times over the years, this is the first time we actually got to the amazing viewpoint on the Timp,
no doubt one of the most spectacular viewpoints in the entire park. This hike has lots of climbing, so it took us about 4 hours to do just over 6 miles.
(Click on the thumbnail to bring up a bigger image in a pop-up window)
|
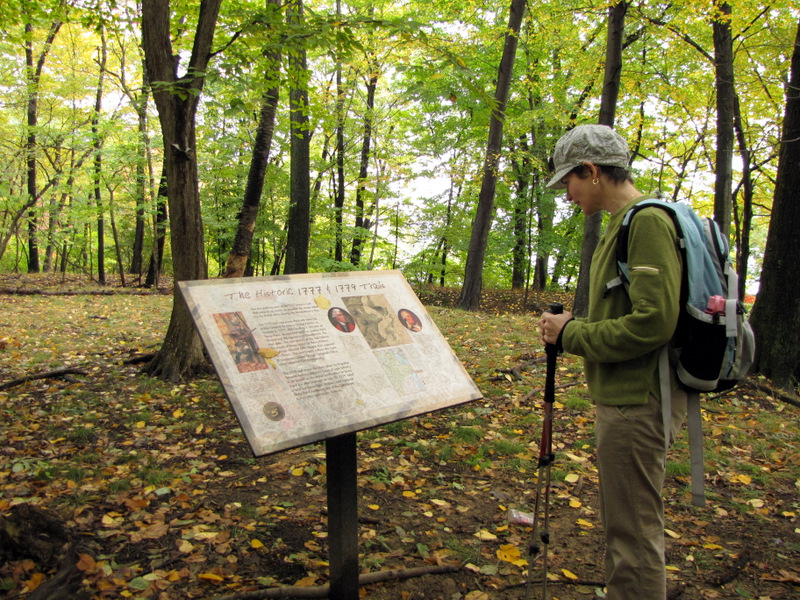 Informative sign at 1777 trailhead |
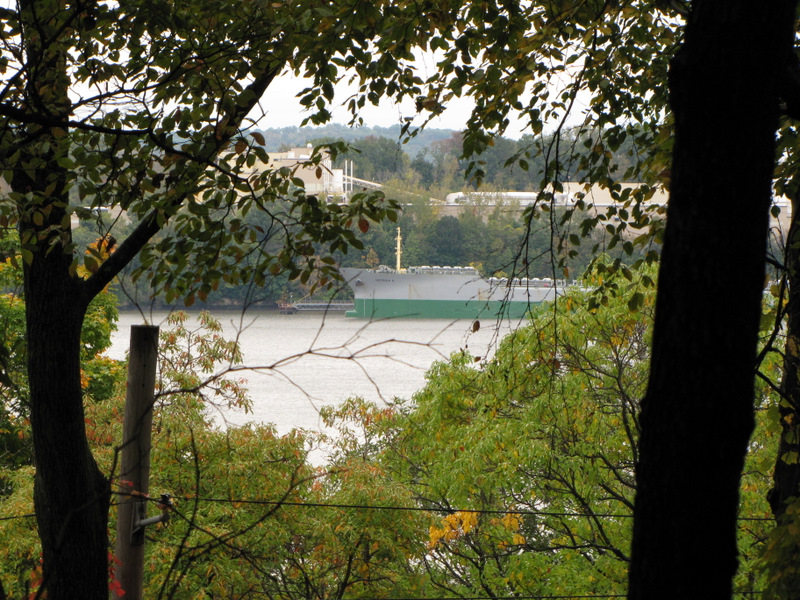 Tanker on the Hudson |
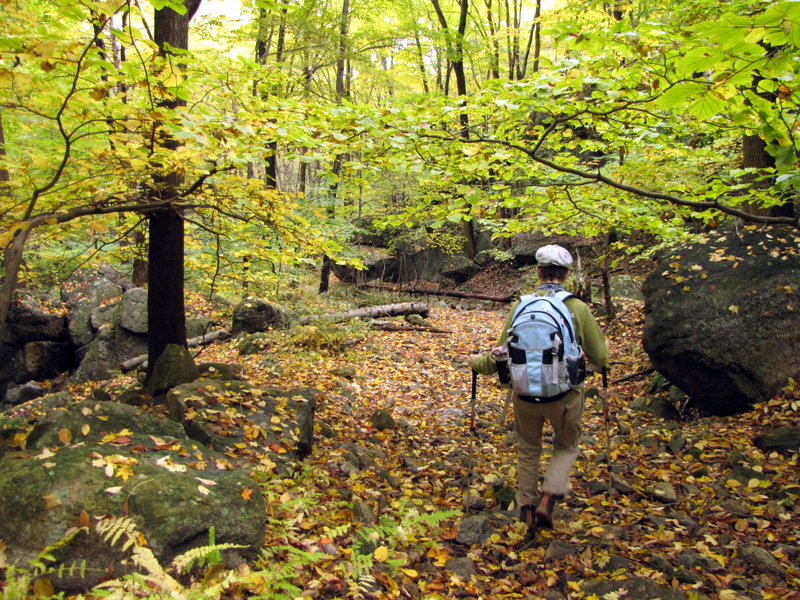
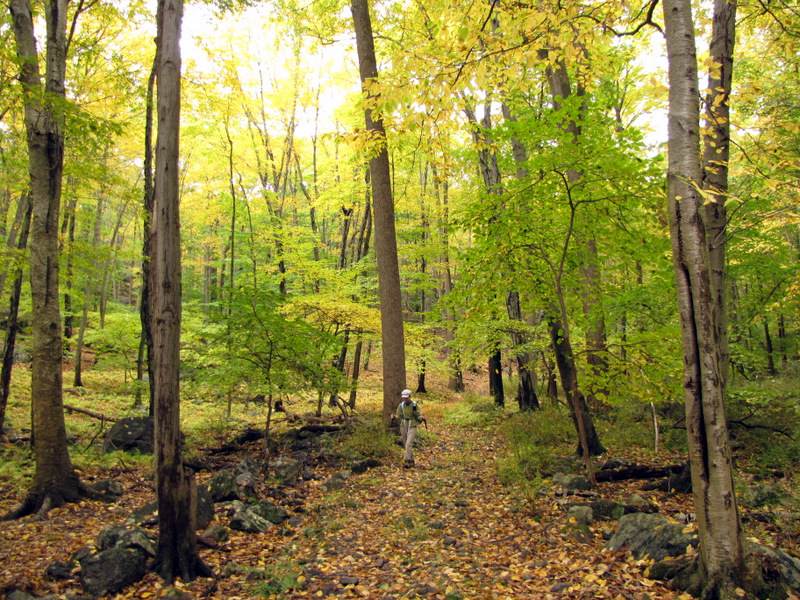
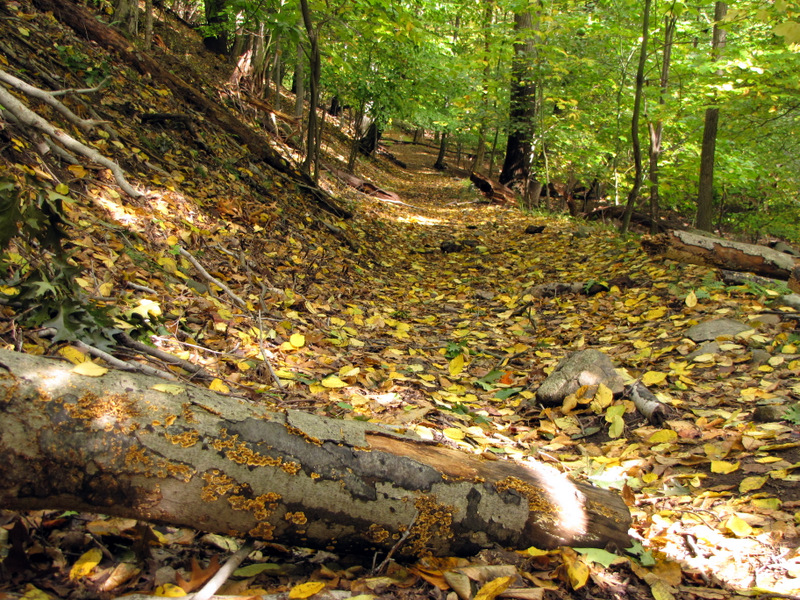
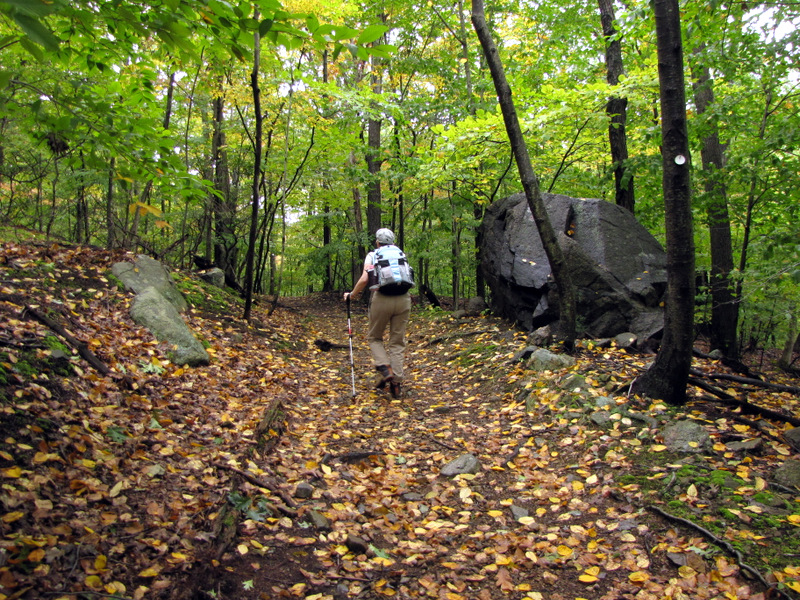 A wet and leafy trail |
 |
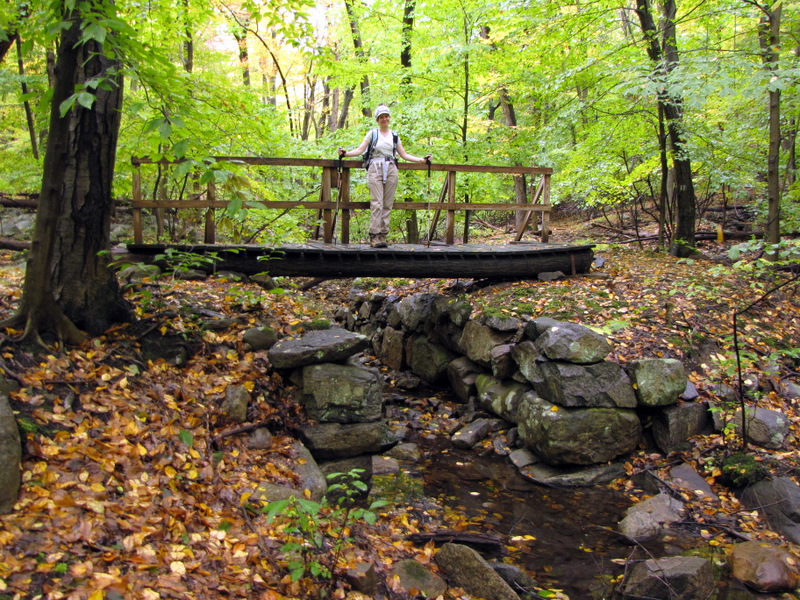 Bridge on the 1777 trail |
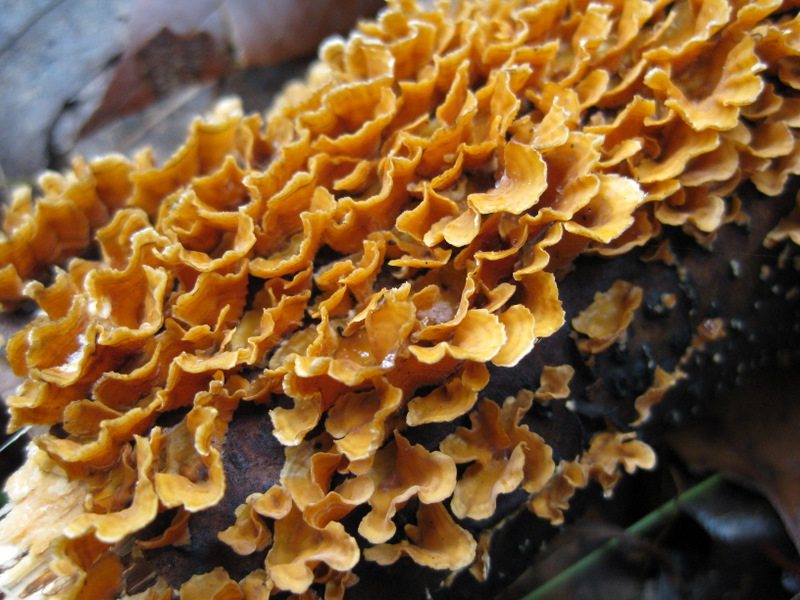
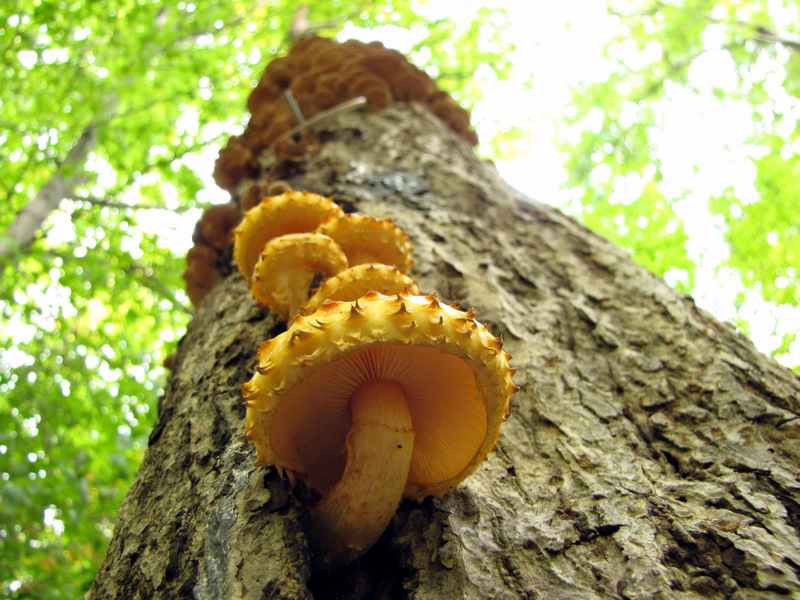
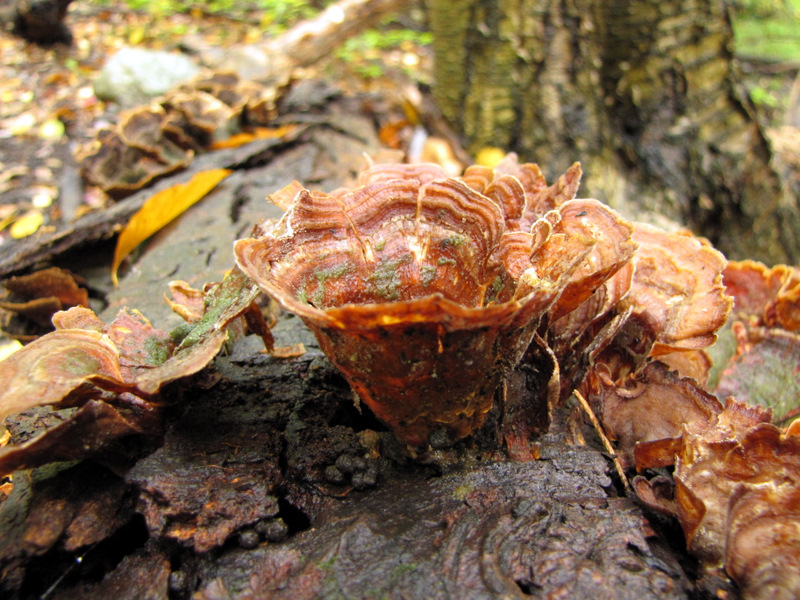 Mushrooms |
 The trail climbs and climbs |
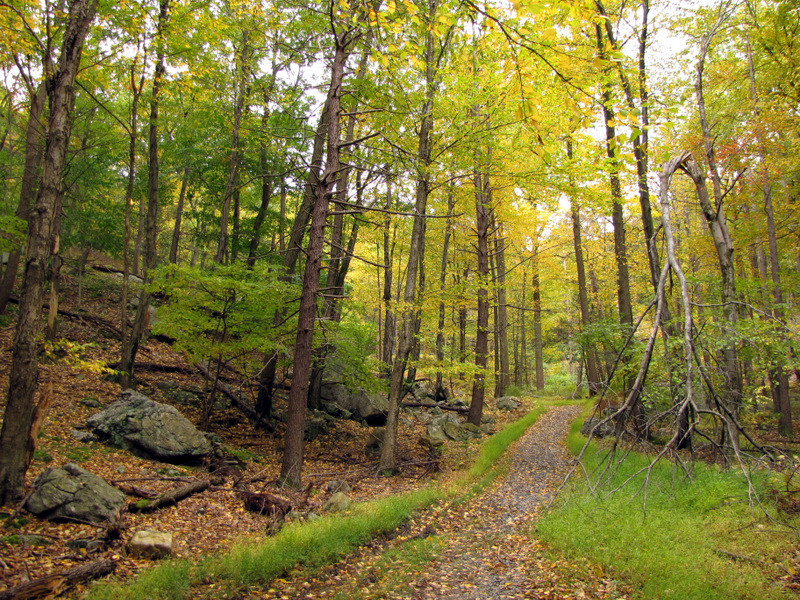
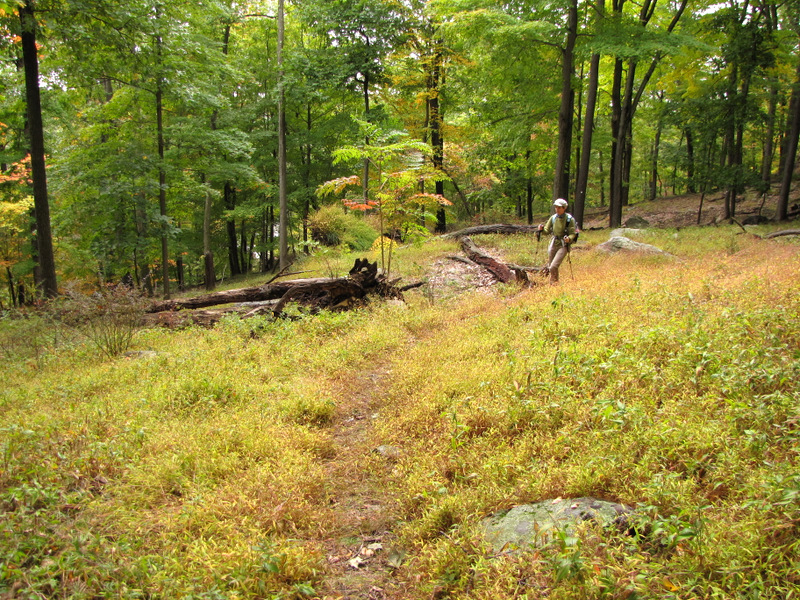
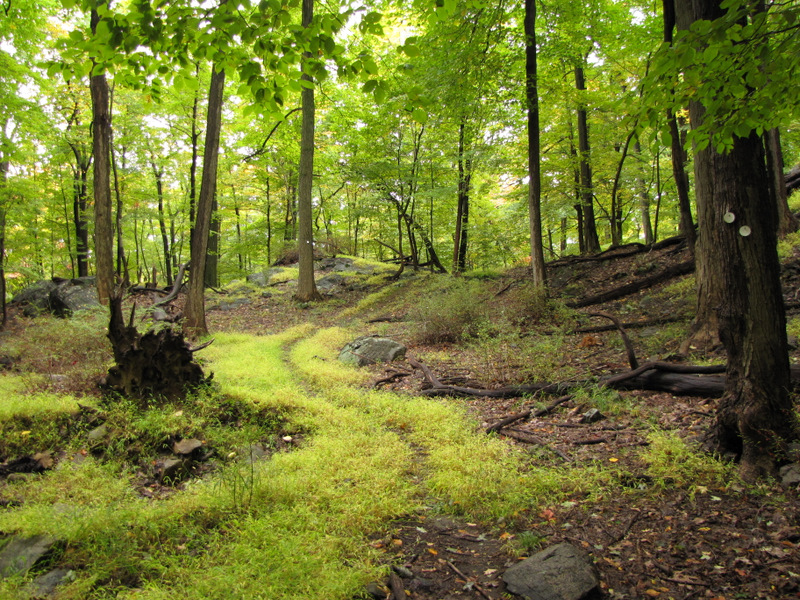 Winding path |
 |
 |
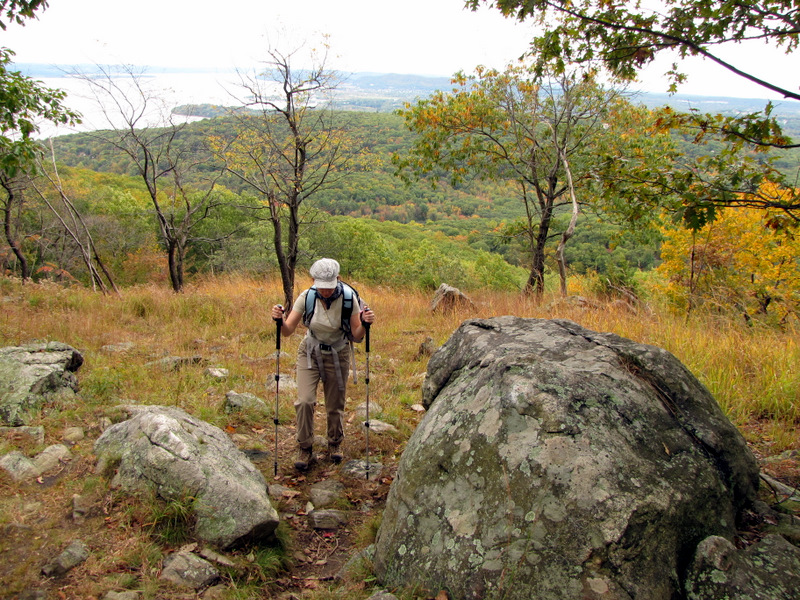
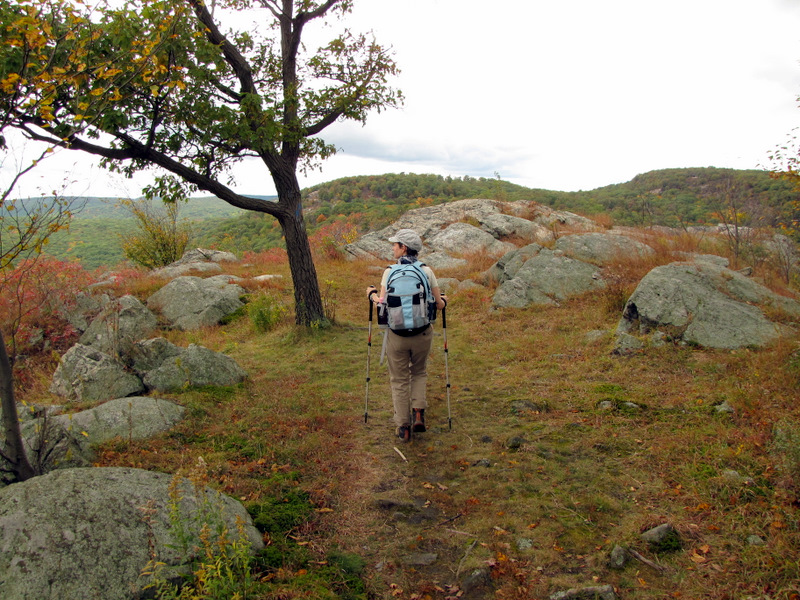
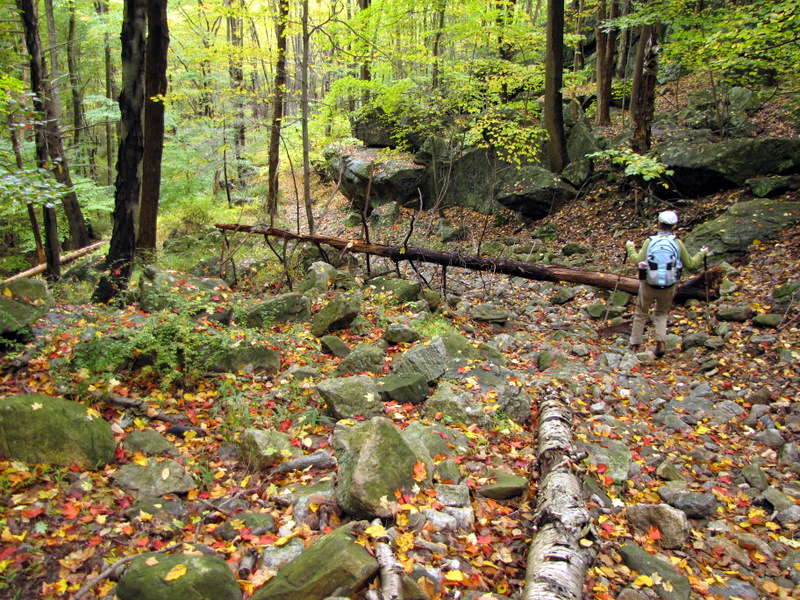
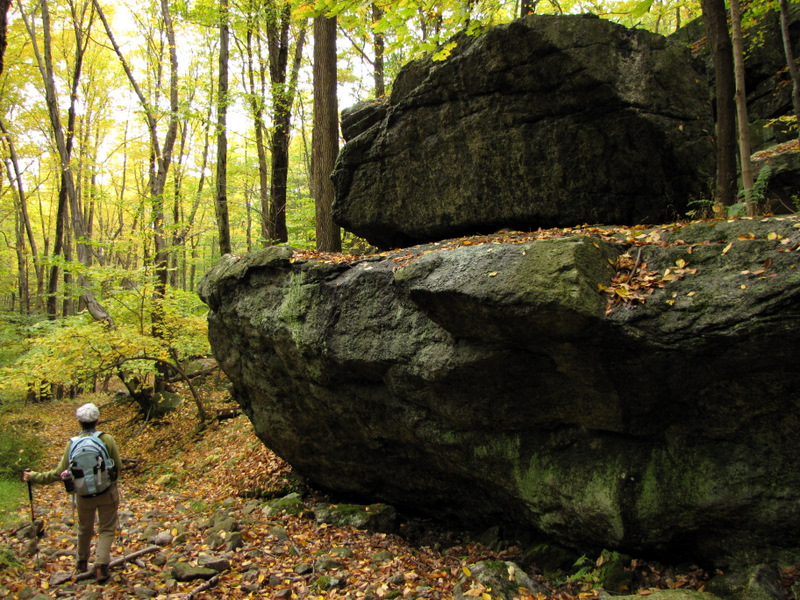
 Huge boulders on the trail |
 |
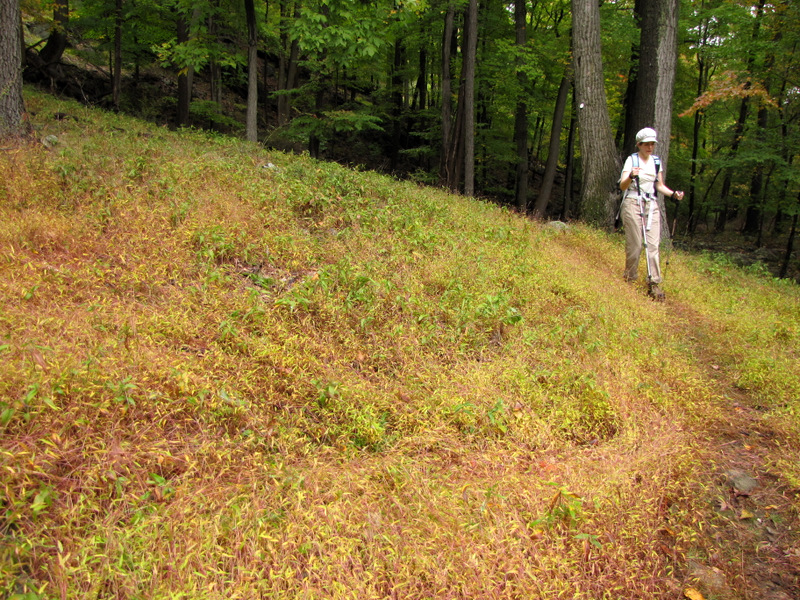
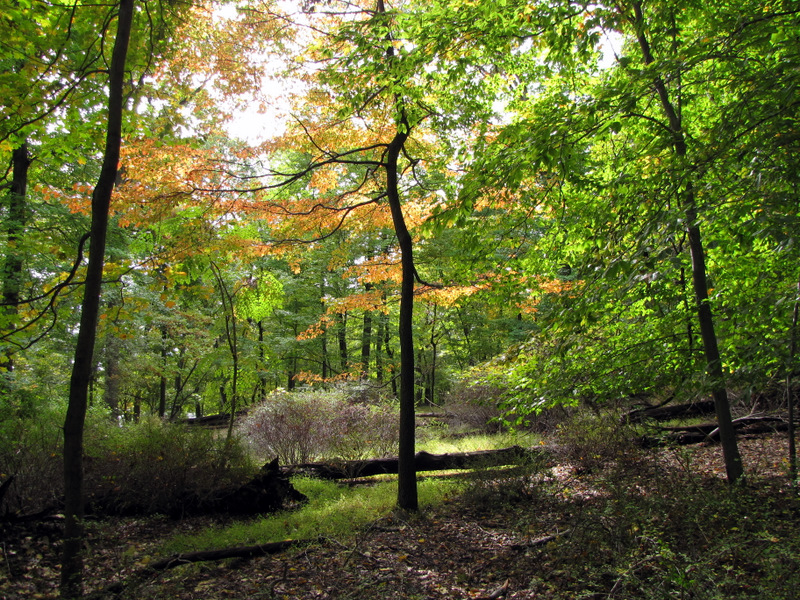
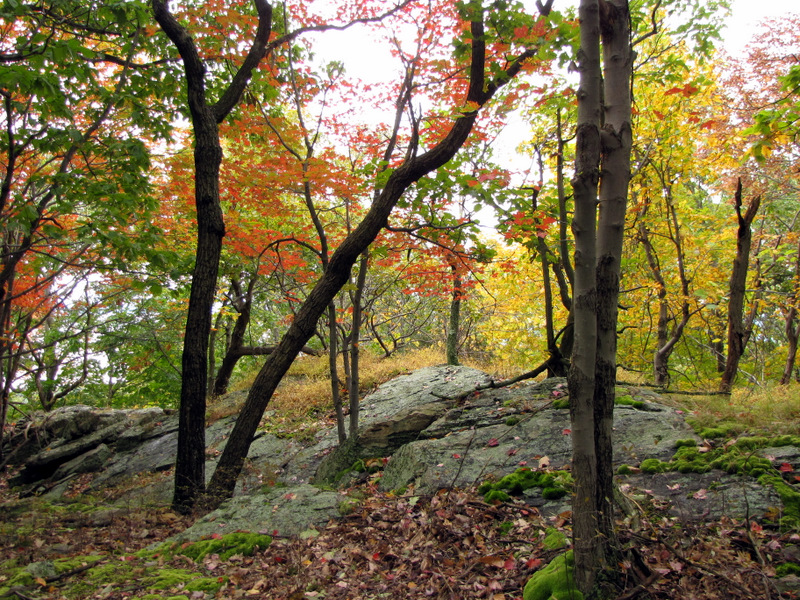 Autumn colors |
 Pitch pines |
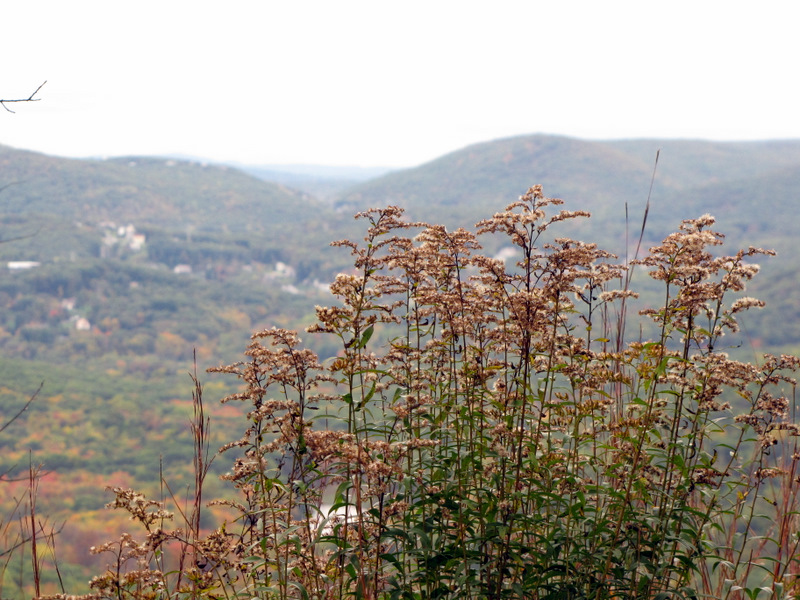
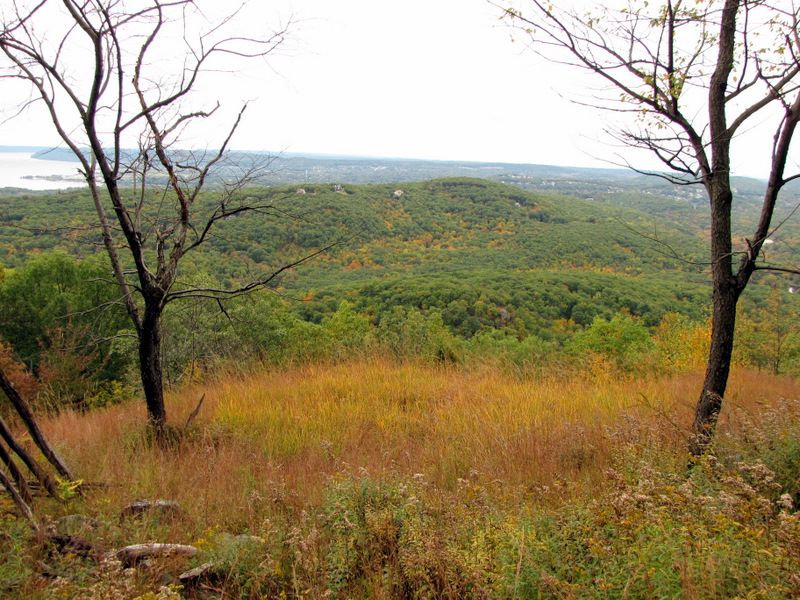
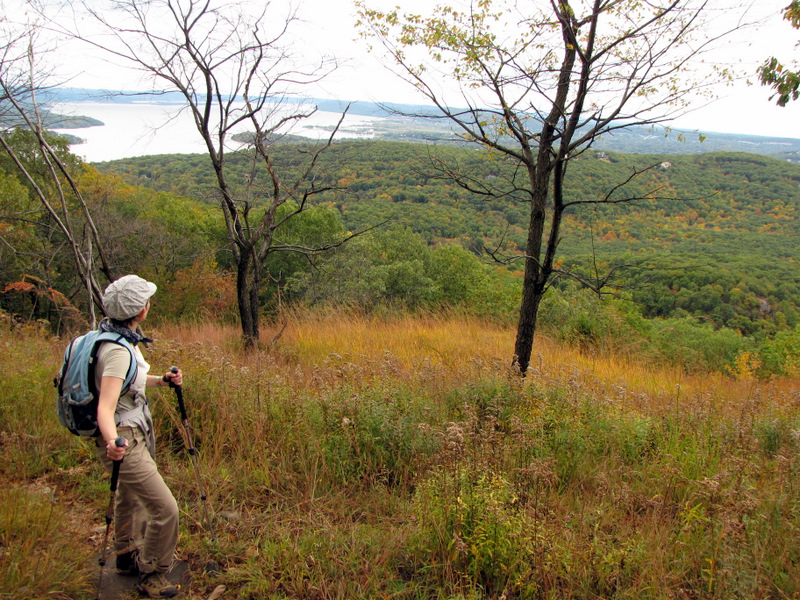
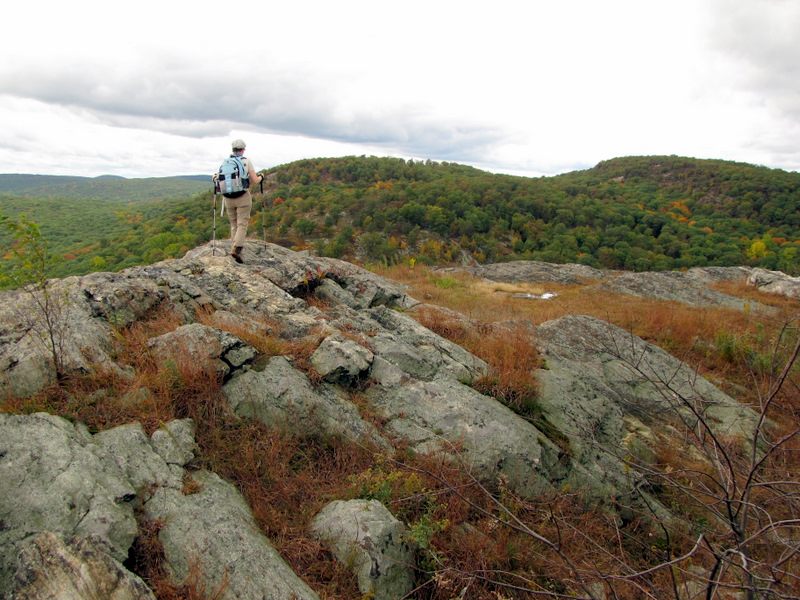
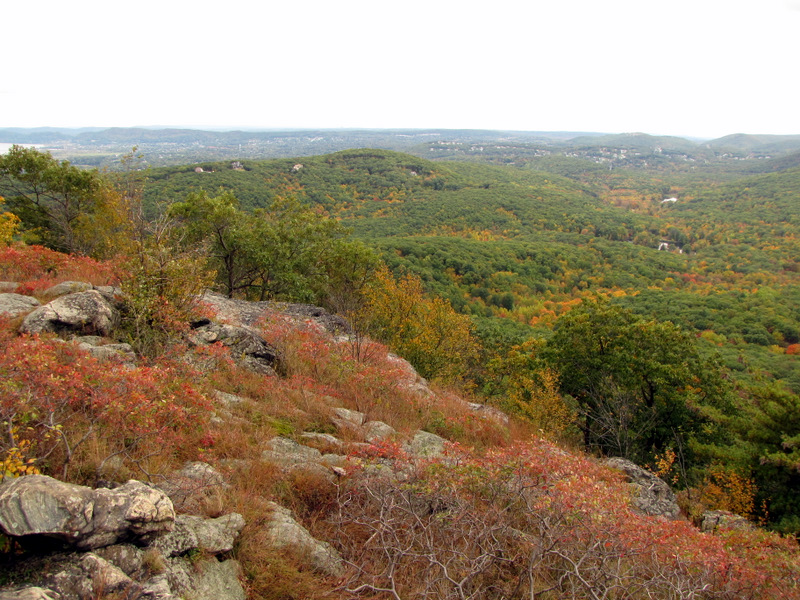
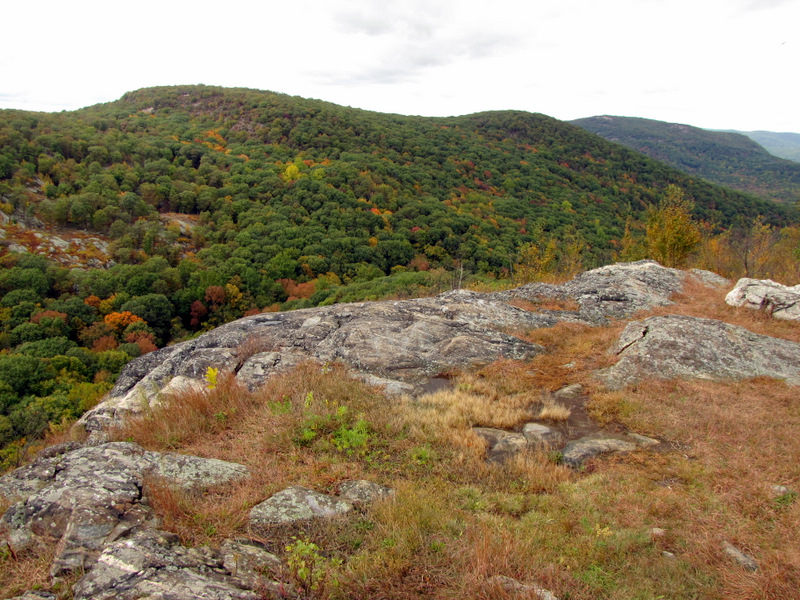
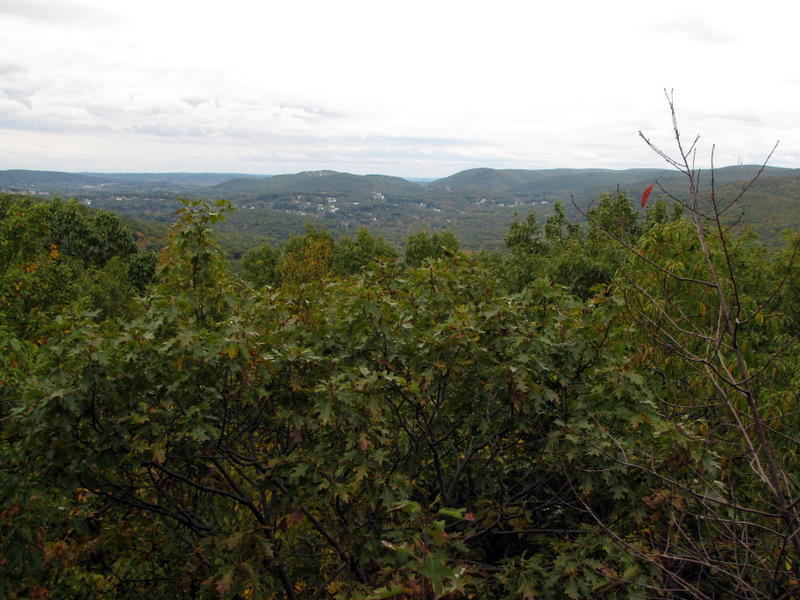 View from the first look-out |
 |
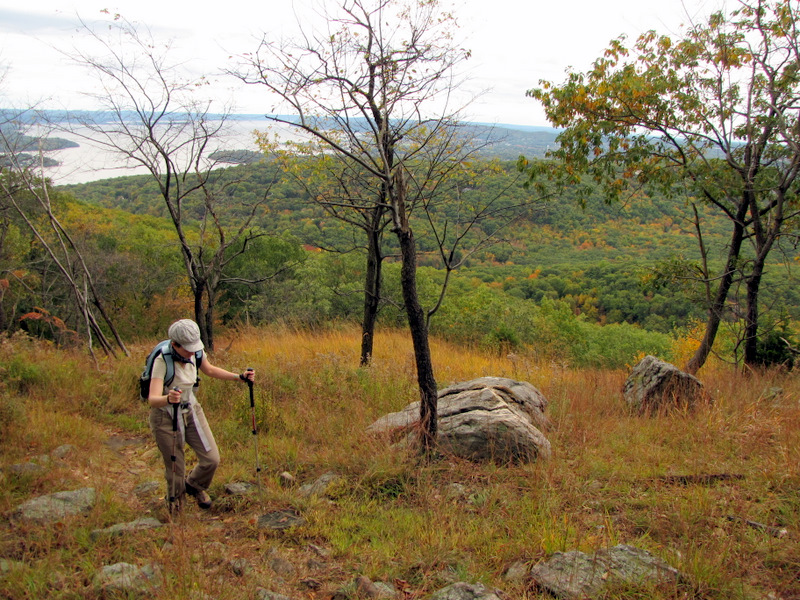
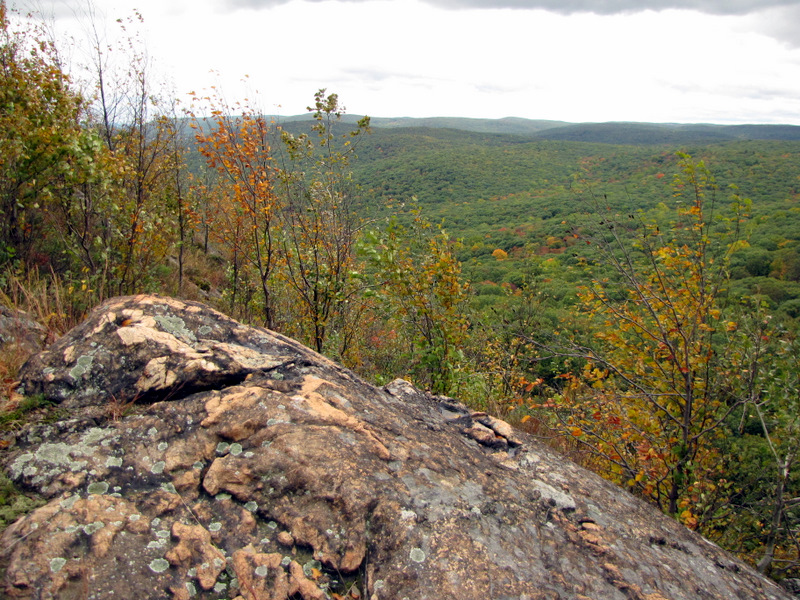
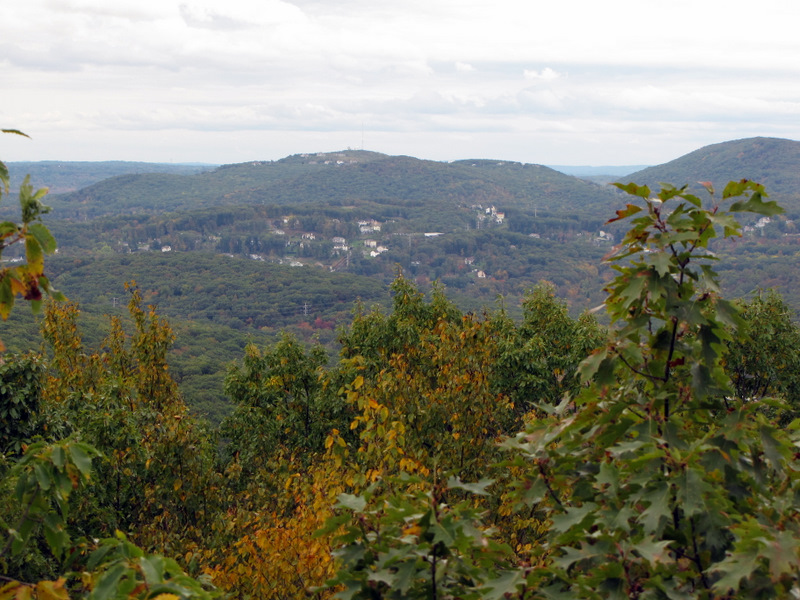 Closer view |
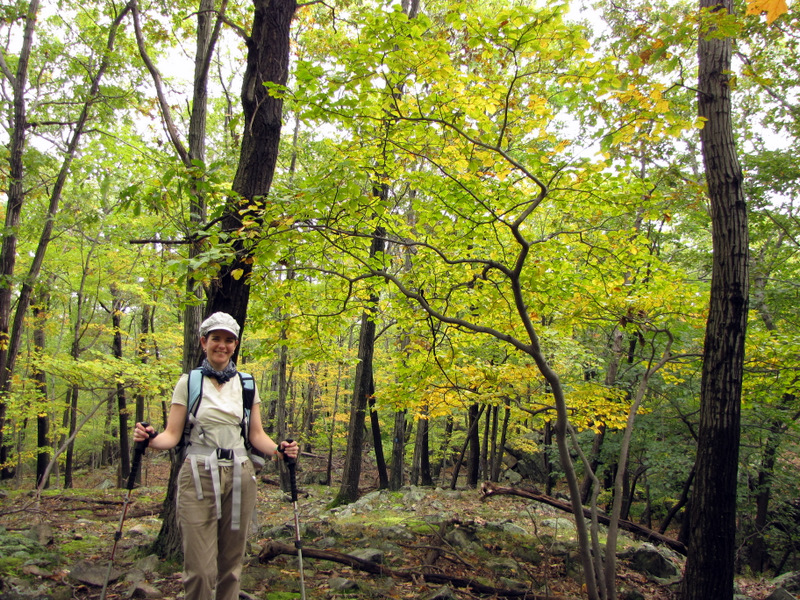
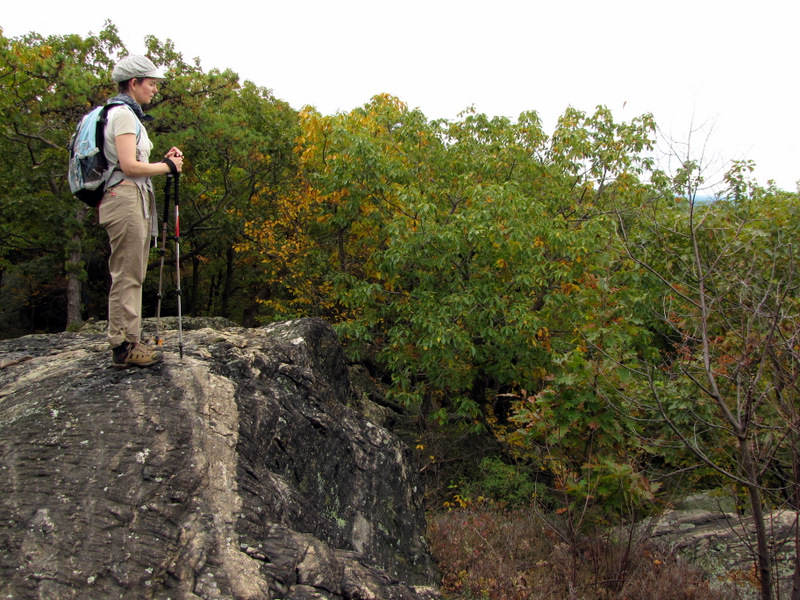
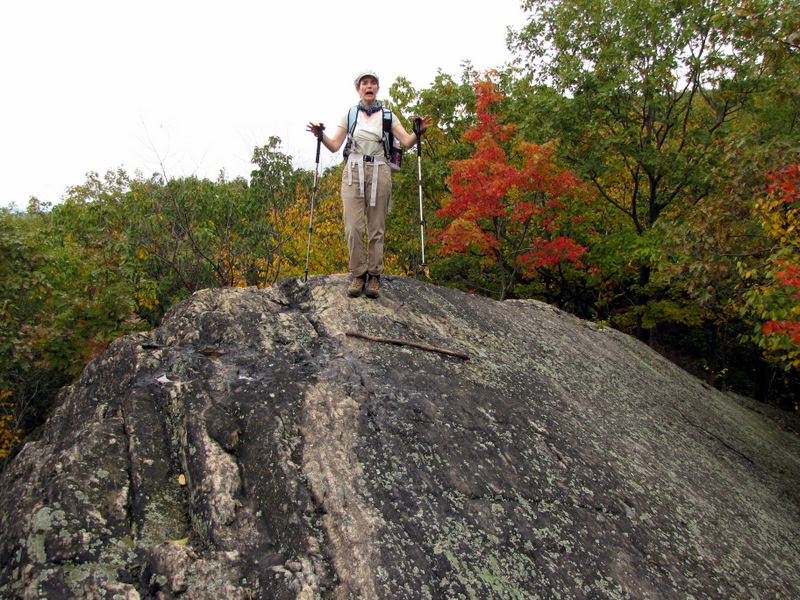 Laura goofing |
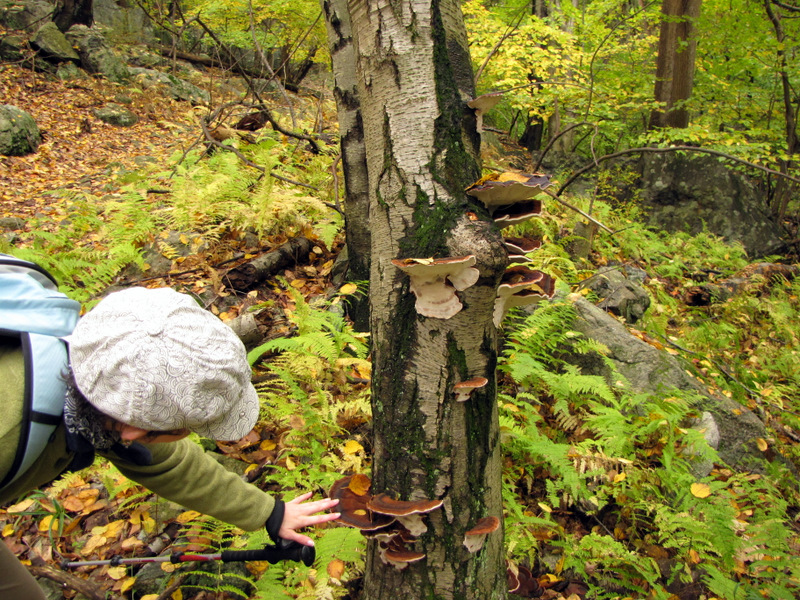
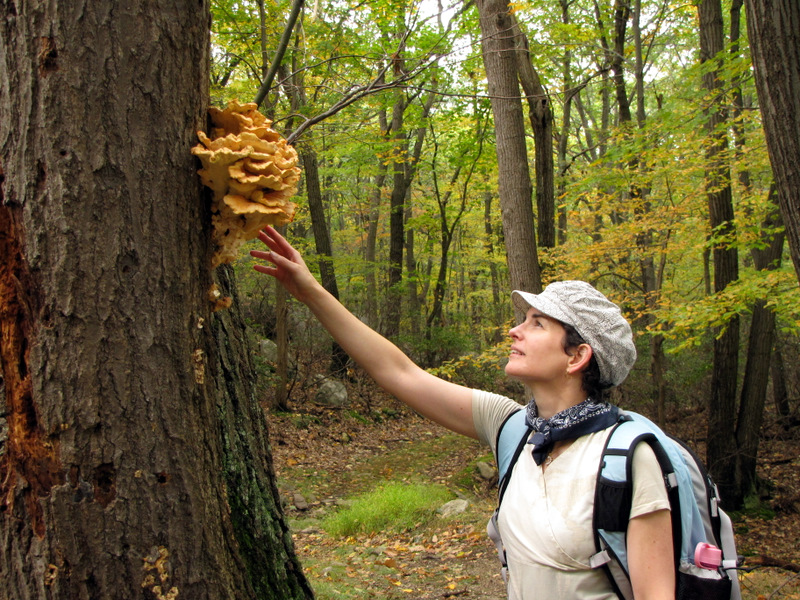
 Fungus [photo by Laura] |
 |
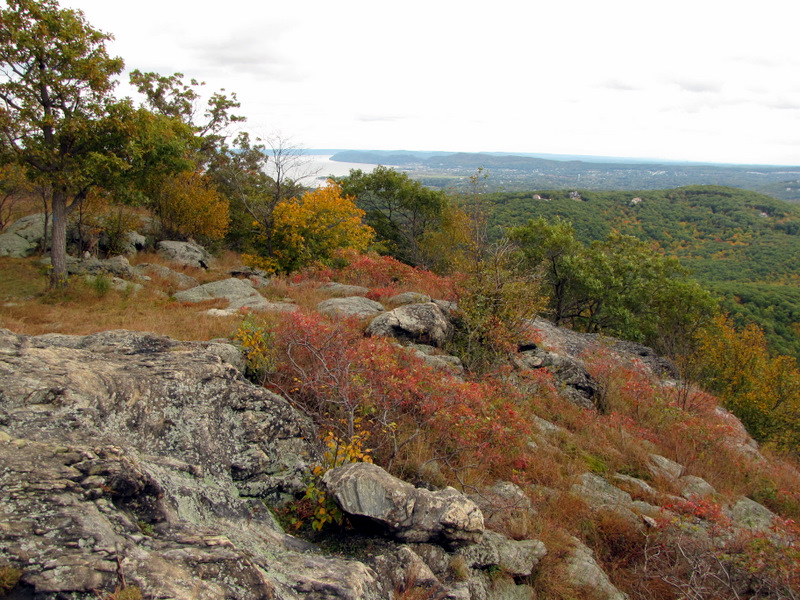
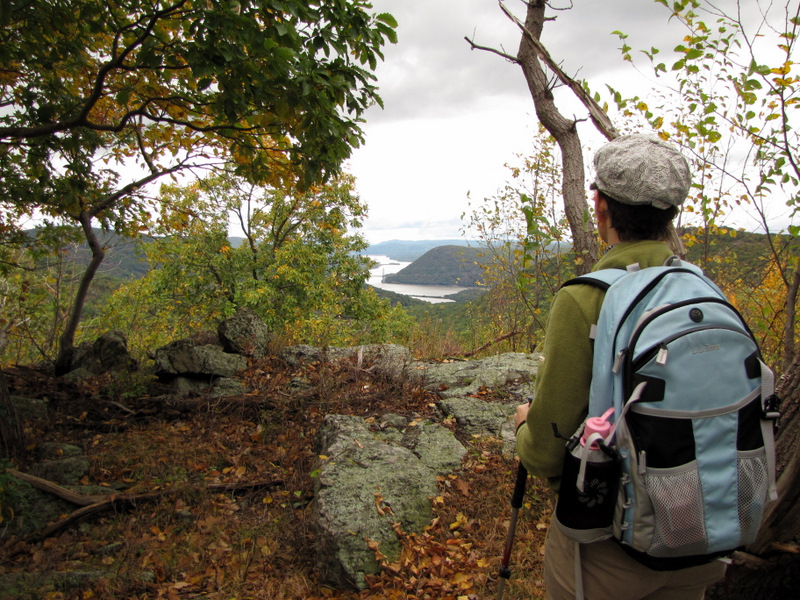
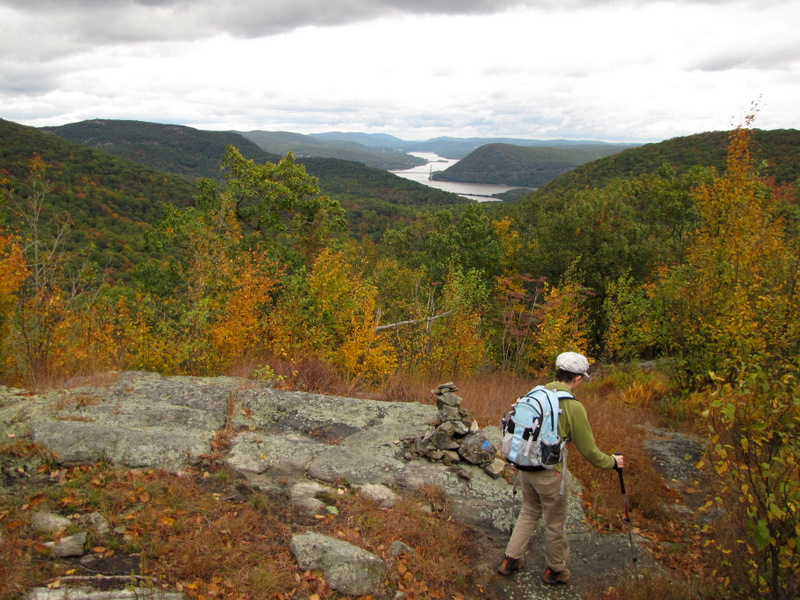
 View of the Hudson from the Timp |
 Timp view south |
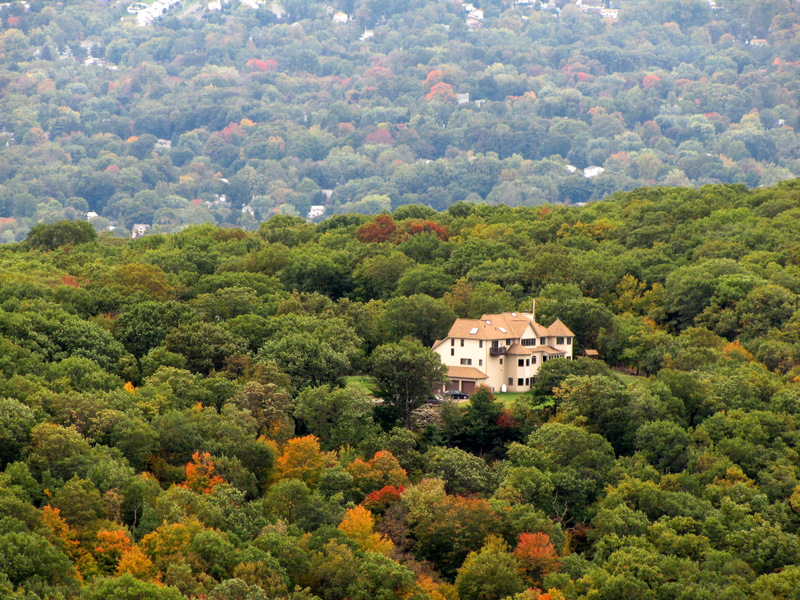 Mansion in the hills |
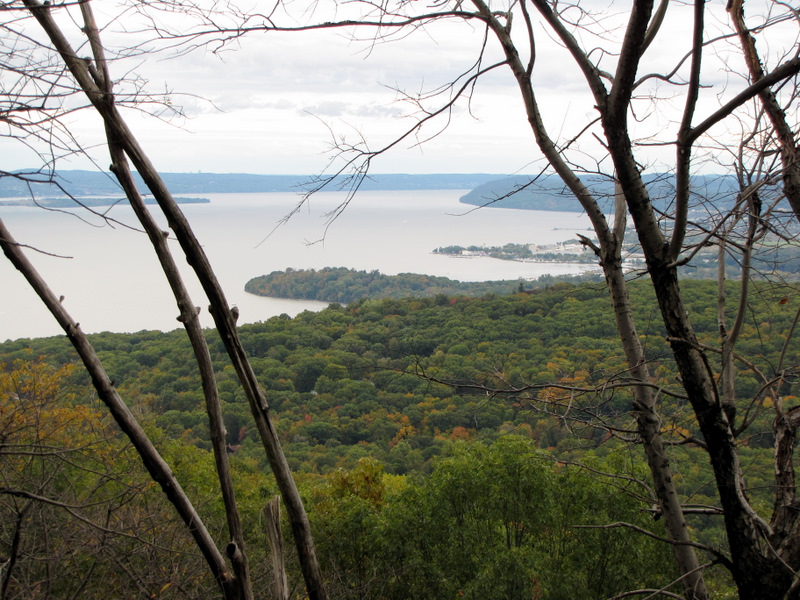 The Hudson |
 View south |
 |
 |
 |
 |
 To an even better view |
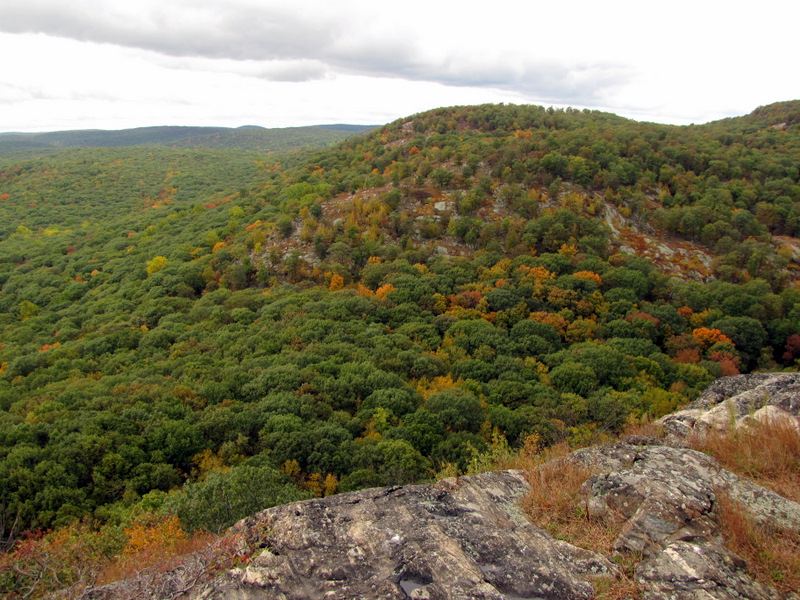
 West Mountain in the rear |
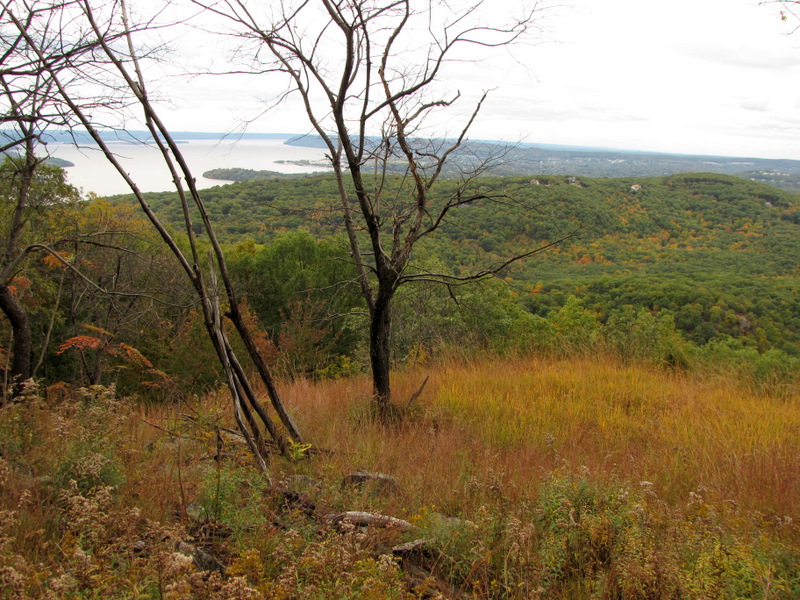
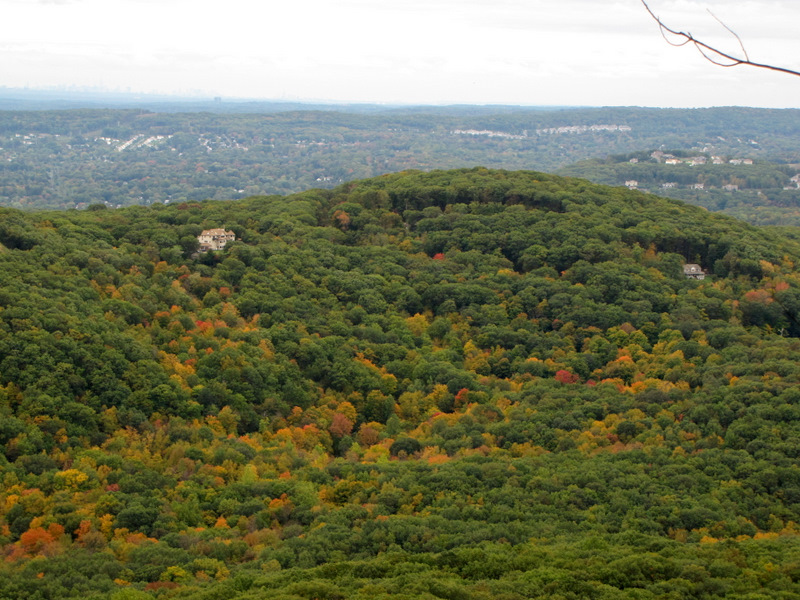
 Great view over Harriman |
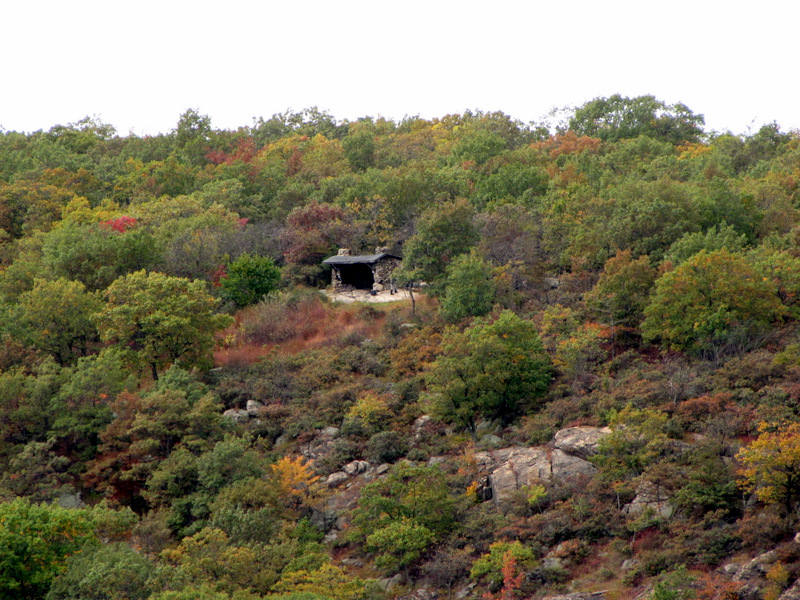 West Mountain shelter from the Timp |
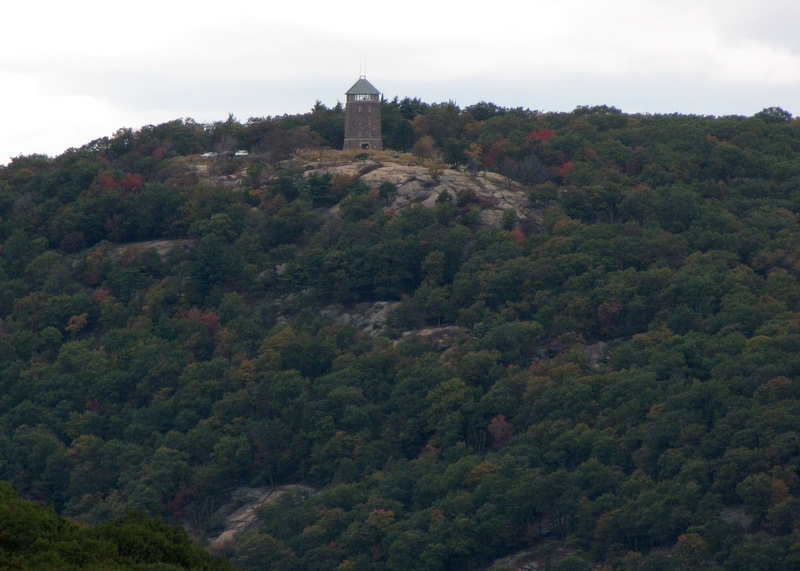 Perkins Memorial Tower on Bear Mountain |
 Wind was kicking up |
 |
 View towards Hudson |
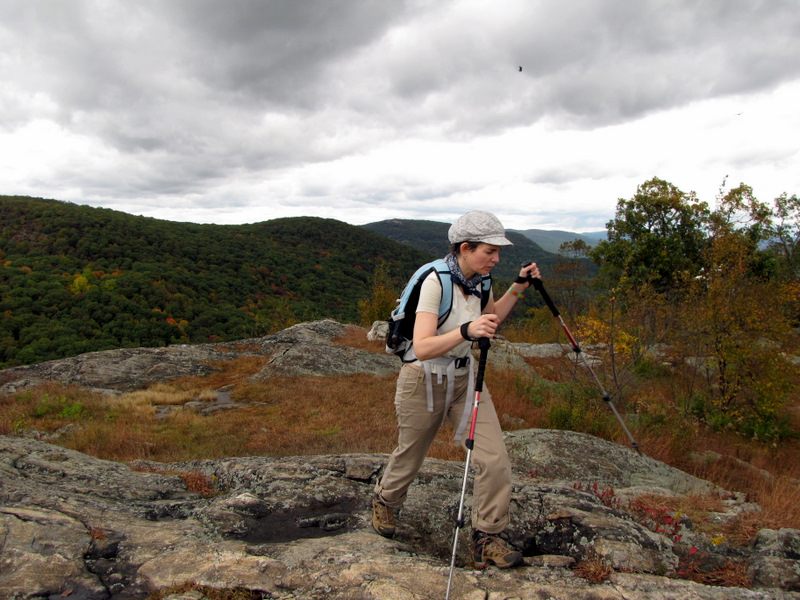
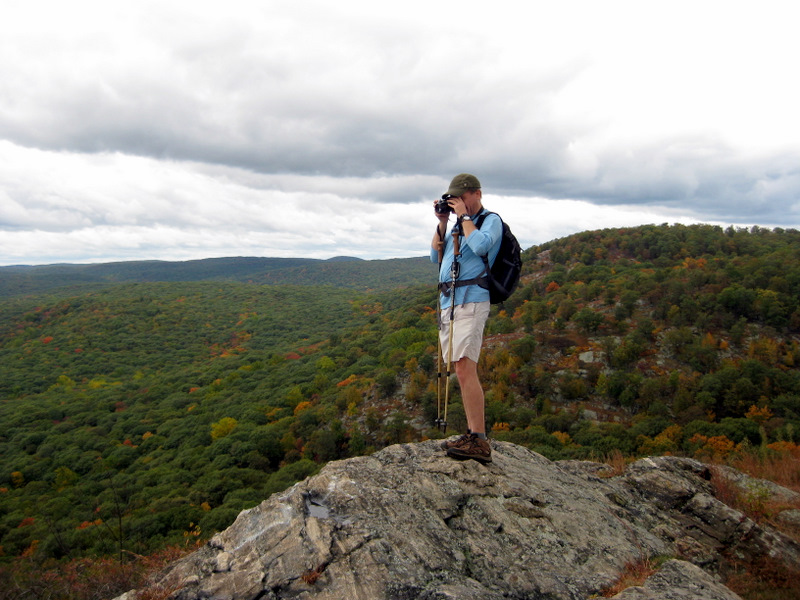 Dan on the Timp [photo by Laura] |
 West Mountain |
 West Mountain |
 View south |
 View north to Bear Mt Bridge |
 Bear Mountain bridge & the Hudson |
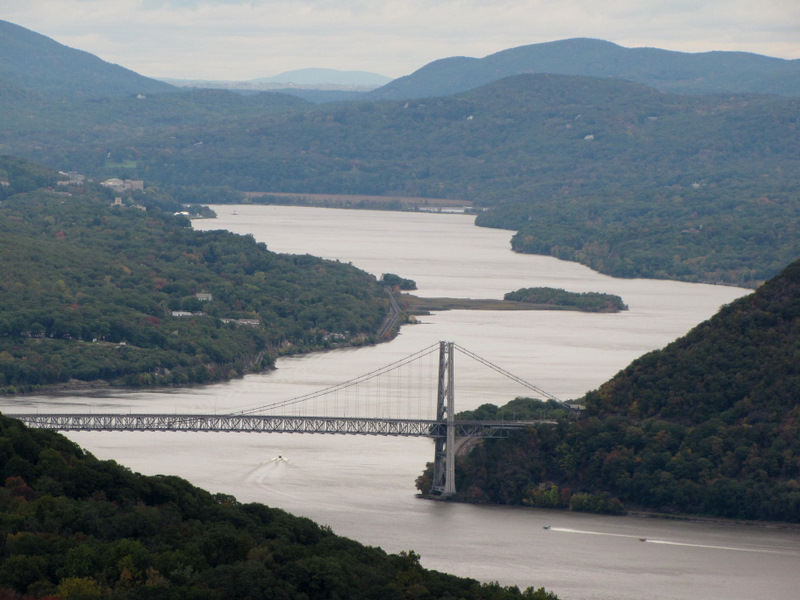 Closer view of bridge |
 View north |
 Beginning to descend |
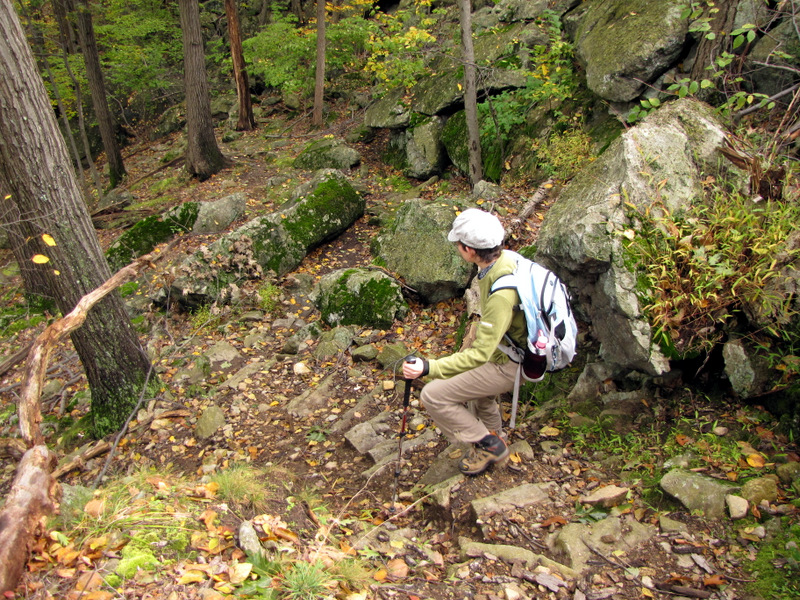 Steep in parts |
 |
 Man-made steps help |
 Can you find Laura? |
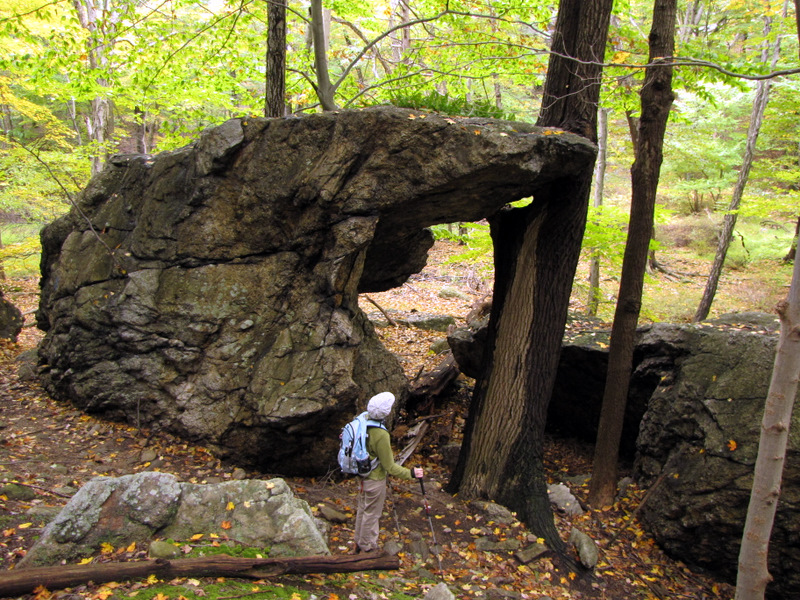 Interesting rock formation |
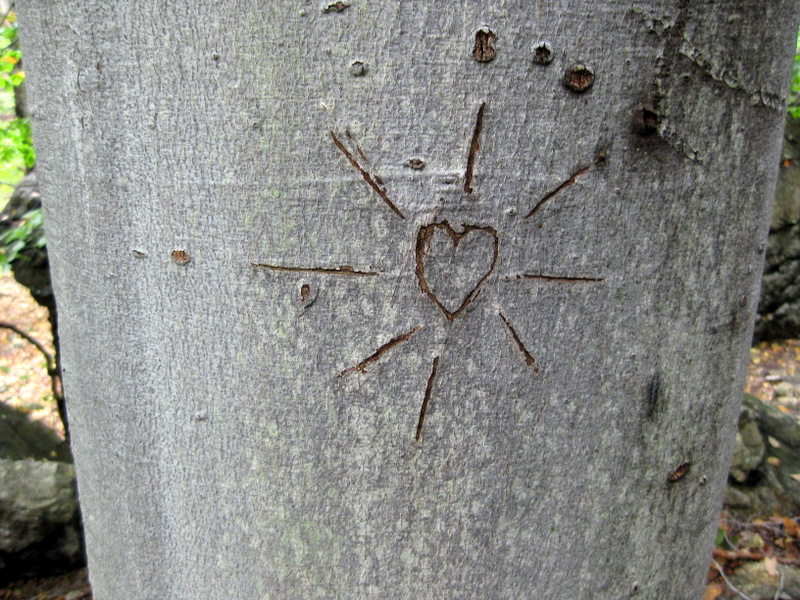 Graffiti [photo by Laura] |
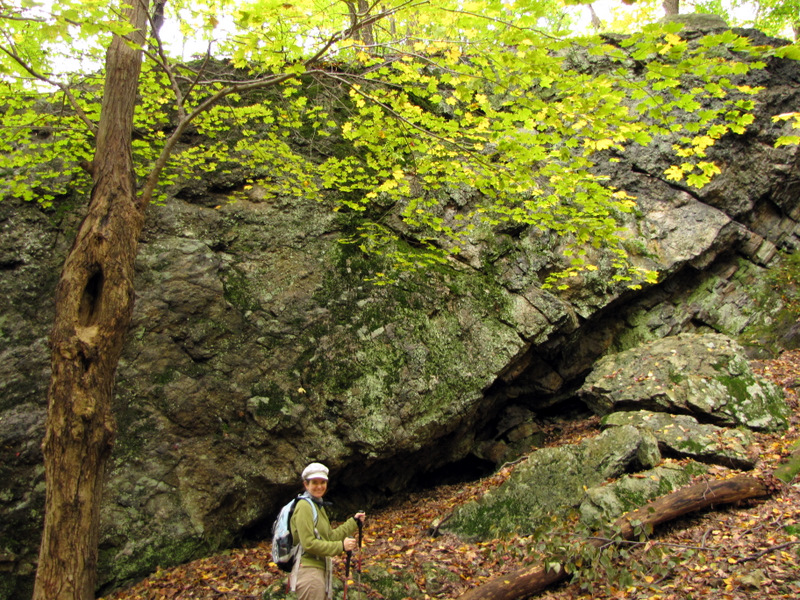 Huge rock on Timp Pass Road |
 |
 |
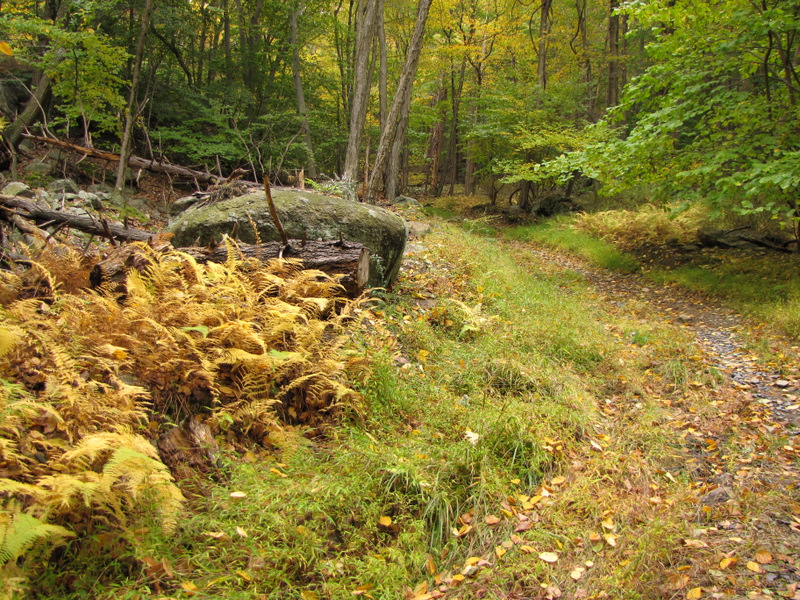
 Lots of leaf drop |
 Heading north on Timp Pass Road |
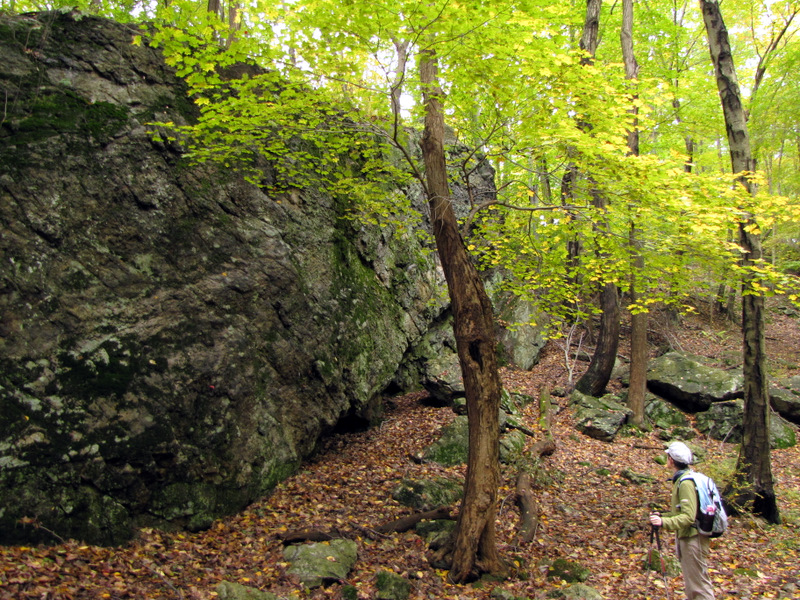
 Huge boulders |
 Mushrooms |
 |
 An eft |
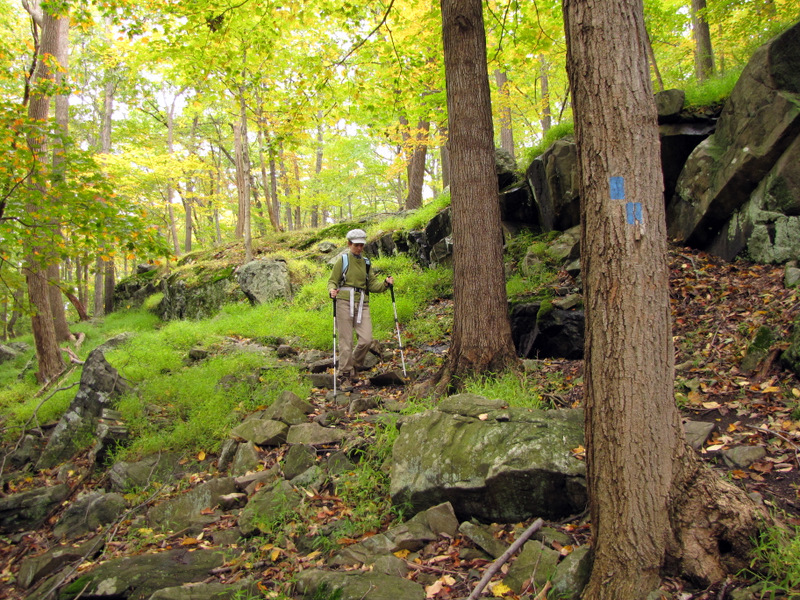
 Back on the 1777 trail |
 |
 |
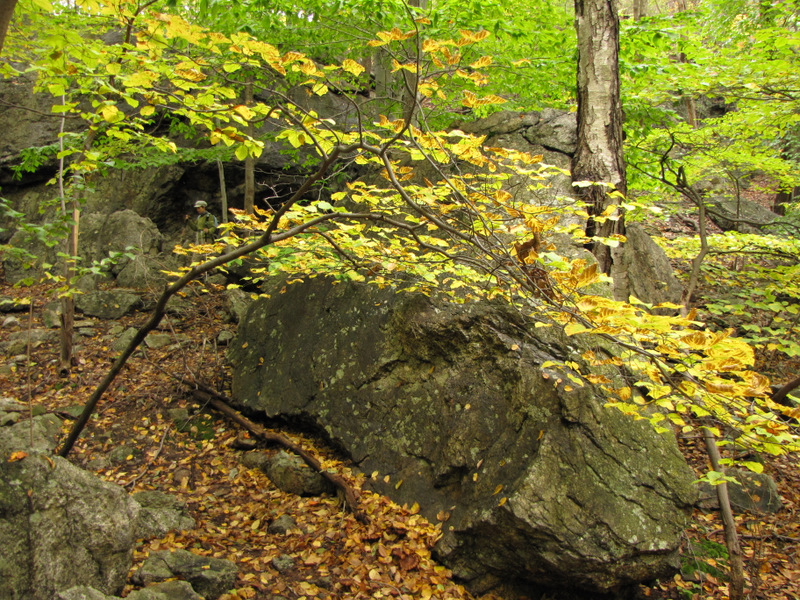
 Giant tree fungus |
 |
 |
 Sun is popping out |
 Sunny fall colors |
 An autumny 1777 Trail |
 Tree mushrooms |
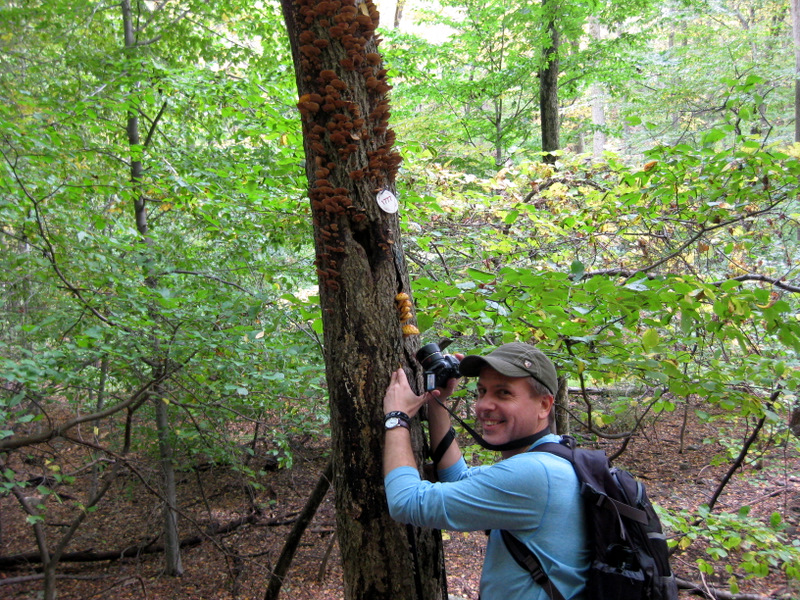 Taking the previous photo [photo by Laura] |

|
|
Photographs and content copyright © Dan Balogh Web design by Dan Balogh |